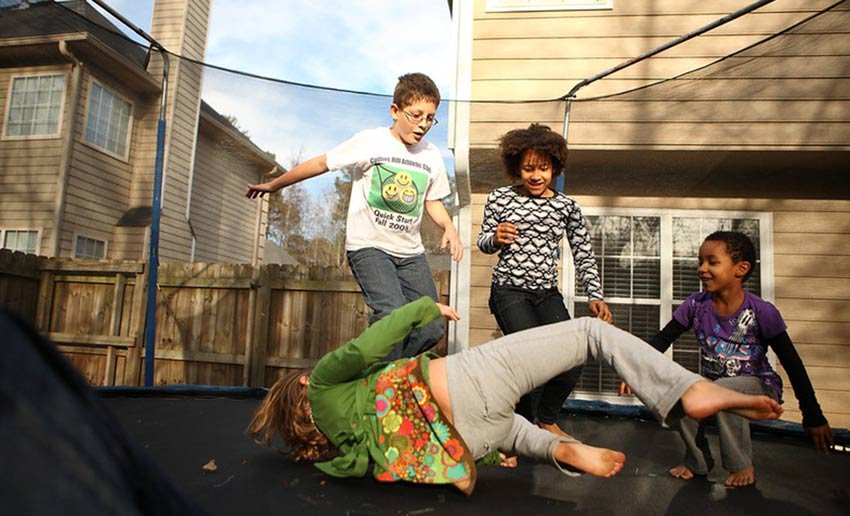
A trampoline is a tool for exercise and fun. People who use a trampoline regularly may face one problem, which is Tear on the trampoline mat.
Most of the time, good quality trampoline serves for almost 1 year without any damage.
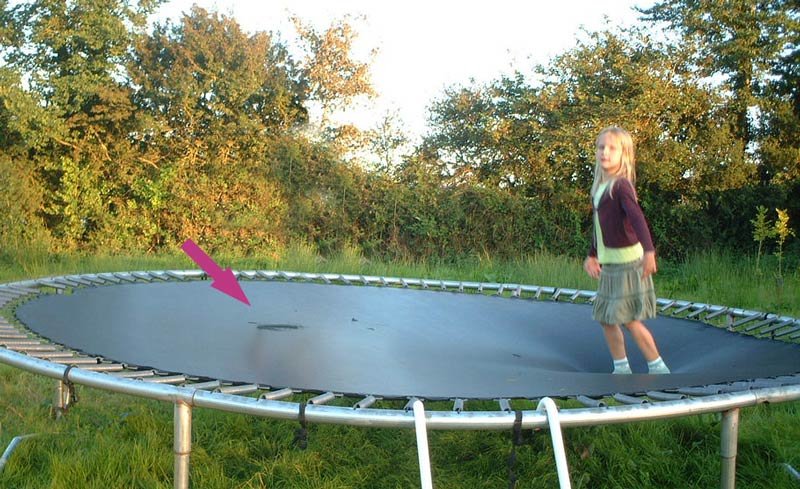
From time to time, it wears out and holes on the mat can be seen which worries the user out. But, as trampoline mat holes are repairable, so you don’t have to buy another expensive trampoline.
However, today in this article, I will teach you how to repair a trampoline mat in your home.
Firstly, I would love to remind you that, think of patching or sewing your mat hole when the hole is below 1″ size. Use a trampoline repair kit if the hole is bigger than 1″. Now, please continue to read the whole article to know how to patch a trampoline.
How to Patch a Trampoline?
Before we dig into the methods, I would recommend some basic necessary tools you will need to repair your ripped trampoline. I am going to describe 5 methods here, so make a list of the common items which you will need for trampoline patching-
- White Chalk/Marker
- Needle & Thread
- Scissor
- Pin
- Sewing Machine
- Tape measure
- Clean Cloth
- Patch
- Lighter
Now you know the items, so let’s dig into the main part how to fix trampolines.
1. Sew to Repair

You can buy a repair kit to save your money as well as fix your mat properly. At first, you need to find a trampoline patch that is sturdy, durable, and UV resistant. Now let’s learn the steps of sewing-
Step 1: Trim the Replacement Patch
Cut the patch in 2″ bigger size than the hole. And the shape should round so it will be easy to sew.
Step 2: Use Lighter
Turn on the lighter and burn the side edges of the ripped hole. It will prevent fraying in the future and the sewing will be stable.
Step 3: Sewing Properly
Now put the patch on the hole and sew it directly with the mat. You can have a second helping hand and they can stretch the mat widely so the sewing will be tight. Tighten the thread while sewing, then the sew will be long-lasting.
Benefits of this method
- You can sew any size of holes to repair.
- It’s super durable and quick to do.
- Very cheap method.
Hole patch kit
The patch kit for a trampoline is a must-have. Trampolines are among the most popular backyard toys in North America, but they are also one of the most dangerous. When too many holes are punched into the mat it can no longer provide enough bounce to keep kids safe, so it’s important to have a repair kit on hand at all times.
Trampoline mat repair kit
You should try the JBam Trampoline Mat Repair Kit. The patch kit is durable and UV resistant. Moreover, the patch kit has other tools and instructions to follow the patching. It will give your trampoline a quick fix. Plus, these patches are also waterproof and washable. On top of everything, this trampoline mat repair kit is affordable.
Repair kit for trampoline net
Trampoline net repair kits are often sold by the same retailer that sold the trampoline when it was new, because they know their product and can provide a much better experience for getting the customer back into shape. If you need to replace your net, this is likely where you should turn. Not only do these companies have all of the tools and materials you will need to finish the job, but they also sell replacement strings and webbing for any future repairs.
A trampoline is a great activity for those hot summer days, but without the safety measures of a net, it can be dangerous. The best way to avoid accidents is to buy a repair kit so that you can fix your net without having to buy a new one.
2. Use sew-Machine
")
At the first point, I mentioned hand sew with thread and needle. You can hand sew the hole if it’s smaller than 4-5″. But if it’s larger than 5 inches, better use a sewing machine with a heavy motor. Moreover, if the hole is created in an inconvenient place, then you should use a sewing machine.
Step 1: Remove the Mat
Firstly remove the mat from the trampoline and the springs. Be careful that the damaged area doesn’t get pulled by any sharp edges.
Step 2: Use Heavy Motor Sewing Machine
Make sure that your needle is super sturdy and the thread is UV resistant. If your needle can go through leather or denim, that can work too.
Step 3: Sew Carefully
Now, place the replacement patch under the sewing machine and sew directly with the mat. I will suggest sewing twice to make the sew durable and tight.
Step 4: Place another layer
This step is completely optional. It’s up to your choice. For more safety and making it far durable, place another patch on the previously sewed patch and sew once more. Sew in the jig-jag method to make the stitch tighter.
Benefits of this method
- Super time-consuming method.
- The mat will be more durable for a certain time.
- Doesn’t create any hassle.
I have a recommendation for this sewing patch and that is Bear Claw Trampoline Mat Repair Kit. This kit is a great choice and a quite thick patch to make the trampoline lively.
3. No-sew Adhesive Tape
")
This one is the easiest but a bit lengthy process to patch your trampoline. Maximum people use this method and they are quite satisfied. Here is a little flaw of this method is, it only works for smaller holes like 2 or 3 inches size.
In the market, you will see versatile brand patch kits. Most of them are oval or rounded shaped. In each package there are multiple patches, so don’t worry about buying a couple of kits. Let’s see the process-
Step 1: Clean the Damaged Area
Where the hole is created, clean the surrounding area both the top and bottom of the mat. So, that the glue of the tape will be attached properly.
Step 2: Measure the Holes
Measure the damaged holes at first and use chalk to mark the circle. Mark the circle 2″ wider than the real hole.
Step 3: Pin the Patch
This step is not compulsory for all. But it assures some safety that’s why I added this step. Pin the patch with the mat and sew it in the cross-stitch method. This will increase the stability of the tear resistance.
Step 4: Apply the Glue
Now, apply glue all over the mat around the hole. The glue should be applied thickly so the bottom side of the mat can absorb the glue.
Step 5: Attach the Patch
Finally, attach the patch around the hole from the bottom. And press it for 2-3 minutes to absorb the glue and connect. Let the mat rest for a day and the glue will be fully absorbed.
Benefits of this method
- The super inexpensive process to make your trampoline more durable.
- You can rely on the process.
For this process, I would love to suggest the Galactic Xtreme Trampoline Mat Repair Kit. This one is quite easy to use, comes with instructions, so no worry to mess things up.
4. Flex-Tape Repair
")
This method is the quickest and easiest process for trampoline mat repair. Flex Tape is a kind of adhesive tape that comes in a roll in different colors. The rolls are approximately 5″ long and 4″ wide. So, you can cut it easily.
Users of flex tape stated that the tape’s bond enhances over time. They can fight against any weather or temperature. Go ahead to see the process-
Step 1: Cut it in Shape
At first check, the hole measurement then cut the flex tape from the roll according to it.
Step 2: Apply the Tape
Now apply the flex tape to the hole of your mat. Also, repeat the tape layer under the mat.
Step 3: Spray Time
Now seal the flex tape with the flex spray. This spray is also available on amazon. The spray will work in any weather, hot, cold, or even underwater. Finally, let it dry.
Benefits of this method
- The flex tape lasts longer than any other process.
- The quickest method.
- Waterproof and weatherproof.
You better try out GEAR AID Tenacious Tape Fabric for this method. It will work like a permanent bond with the
5. Hire Professionals

If you are feeling tensed that you can’t do any of these DIY methods, then you can rely on the professionals blindly. Plus, if your trampoline hole is bigger than 5 inches and you don’t want to handle it by yourself. You can always seek a professional.
Find the nearest trampoline shop in your area and hand over your trampoline to them. The rest of the work is theirs. Don’t worry about the cost. They give service at a very reasonable price to everyone.
Benefits of this method
- Your mat will be new like before.
- It’s quite inexpensive compared to buying a new mat.
- Your mat will last even longer.
How to Prevent Trampoline Holes?
The last segment was about how to fix a hole in a trampoline. But if your trampoline will get continual holes then repairing won’t work anymore. So, it is necessary to know why the holes can b created and how can you avoid them. Here I am explaining them briefly.
- Take off your shoes before jumping on the trampoline.
- Never take any sharp item on the trampoline.
- Don’t put overweight on the trampoline.
- Use the right size springs.
- If the trampoline is not UV protected then use UV protected spray.
- Keep the mat covered during the summer.
- Create a routine to clean the trampoline.
- I recommend taking apart the mat when it is freezing or winter.
The Must-Follow Trampoline Safety Tips
Now you know how to patch a trampoline, but it’s not enough I guess. You must have to follow some safety rules to keep yourself safe as well as the trampoline. Here I am going to add some safety tips.
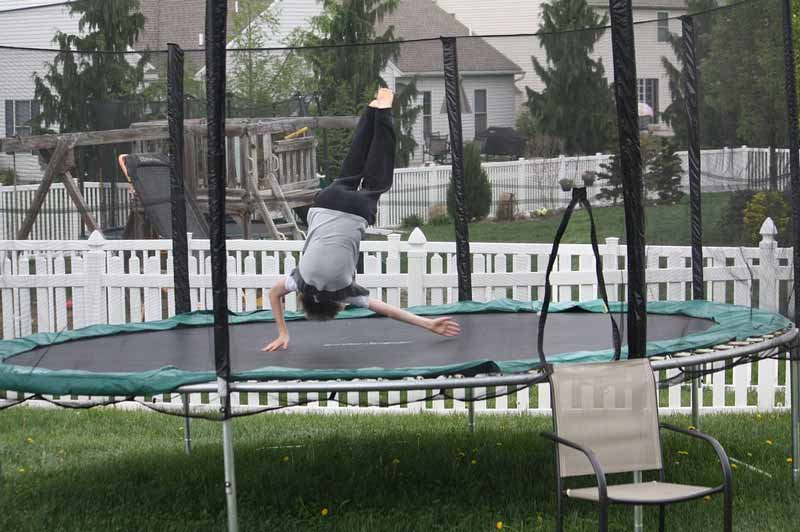
- Trampoline is for jumping not for flipping. Never flip on a trampoline. By any chance, if you flip off the trampoline, serious injuries can be occurred.
- Avoid jumping on a trampoline when it slips. You can get injured by that.
- You must have to use a safety net around a trampoline. Make sure you can install the trampoline net following the proper way.
- Never go over the load capacity of the trampoline. Otherwise, you may face some horrific accidents and the trampoline will also tear down.
- It will be wise to use a safety pad over the spring.
- Always jump in the middle of the trampoline. Otherwise, the trampoline can get harmed and you can fall.
- Must check out the nearby places before installing a trampoline. Don’t set it near a tree, electrical pole, roofs, or others.
How to take apart a trampoline
What’s a backyard without a trampoline? This fun toy is a great way for kids to get exercise and play outside. However, as the weather turns colder, you’ll need to figure out a way to store or take apart your trampoline.
For many people, a trampoline is a backyard staple. Kids love to bounce around while parents watch from the sidelines. It’s a simple enough concept, but often it’s the product that gets neglected over time. A faulty or broken trampoline can be a very unsafe condition for kids and adults alike, so it’s important to know how to dismantle a trampoline when it begins to show signs of wear and tear.
How to fix ripped mesh
A torn or ripped trampoline can be a major headache and is often more expensive to fix than replacing the entire trampoline. If your trampoline has a torn net, you can purchase a replacement net at your local trampoline store. If the frame, springs, and other mesh on the trampoline have been ripped, it may be safer just to replace the whole unit for safety purposes.
Many families have a trampoline in the backyard that is meant to be used for kids to jump around on. However, it’s not just jumping around that needs to be done with them – there are also repairs that need to be made when they get ripped up.
It has been over 18 months since I first invested in my first tri-fold trampoline for my family’s backyard. And now, to the dismay of many other anxious parents, I am faced with a torn mesh trampoline. With three small children, it has taken its toll on the taut netting and seams of the tarp. But never fear! This simple guide will help you find out how to fix a ripped mesh trampoline.
Final Words
I hope you will face no issue patching a trampoline after reading this article. I have discussed 5 trampoline repairing methods. Among them, the flex-tape repairing method will be the easiest if you are now to trampoline matching.
Aside from that, I have discussed some related topics. I recommend reading the hole prevention tips and always be careful while using a trampoline.
That’s it for today, before saying bye-bye I would recommend you another article 9 different types of trampolines. Don’t miss it.